News:

Deals Gap 2024: Safety 3rd!


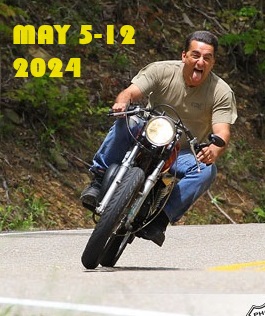
This year:  May 5-12th.  25th year!
(CLICK IMAGE FOR MEET INFO)

Main Menu

First complete RD motor rebuild (vito's crank)

Started by lawnboy, June 19, 2021, 10:44:53 PM

Previous topic - Next topic

0 Members and 1 Guest are viewing this topic.

lawnboy

Doin my first rebuild. Disassembly went well.  Took my time and bagged and tagged everything.  Took lots of fotos too.  I got a Vito's crank and I see it has o rings instead of knock pins.  Is this right?


m in sc


lawnboy


smokah

There are a few seals that are directional. Make sure you know which way they all face because on at least one, it makes a difference.

85RZwade

My crankshaft is finished and will be home soon; I did NOT carefully bag or tag things, but it's all mostly in the same cardboard box, so we'll be working in parallel. You'll be the one without the tension headache.
I post waayyy too much

lawnboy

ha. my ocd is friend and foe sometimes. i tend to "brain fuck things" so iv'e been re reading the rebuild thread from the air cooled rd site. hoping all goes smooth with the bottom end rebuild. Top end just got to Garret up in WA. So time to move this to haus of projects I suppose.

smokah

When I broke mine down to the bare cases there was a tutorial on another RD site that I used. I wish I saved the link. There were tons of helpful pictures. I used my tablet and followed along. All went well.


SoCal250

75 Yamaha RD125B   75 Yamaha RD125B (project)
75 Yamaha RD250B   75 Yamaha RD200B (project)
73 Yamaha RD350     77 Yamaha RD400D   79 Yamaha RD400F  
91 Yamaha TZR250R  89 Yamaha FZR400   05 Yamaha FZ6   
05 Yamaha XT225TC  82 Honda MB5  02 Aprilia RS250 Cup (sold)

smokah

The second one is the one I used, and except for the Vito's crank rubber o-rings, all the pics were great help.